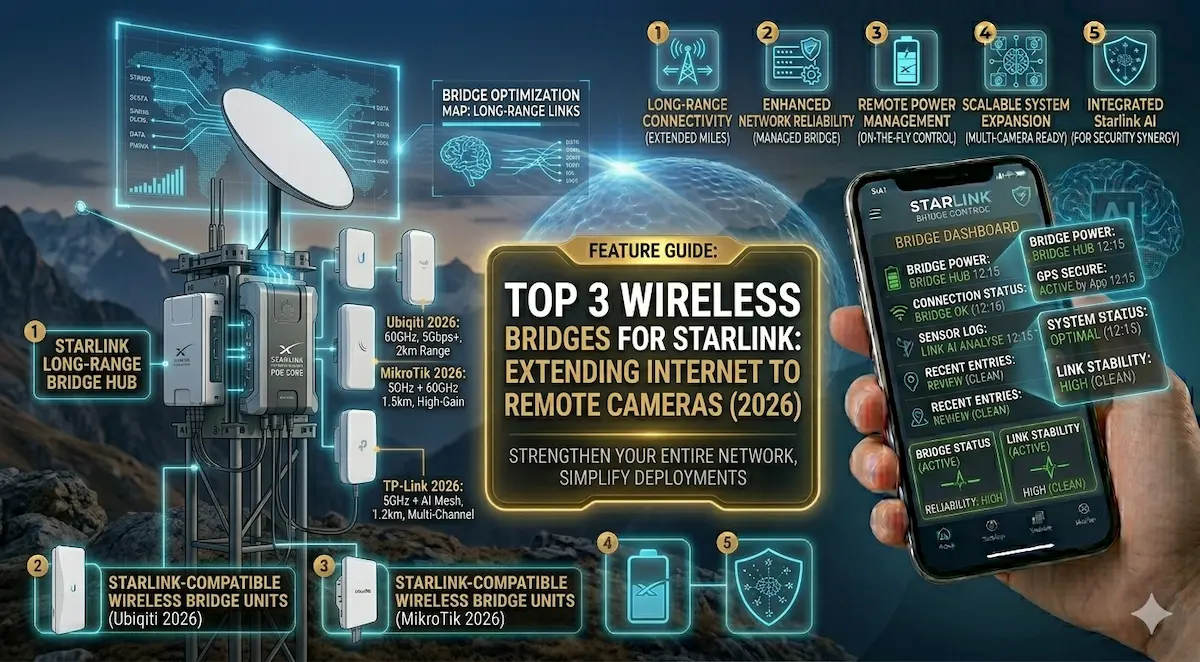
You’ve installed Starlink at your main house, and the speed is incredible. But now you need to put a 4K security camera at the front gate, which is 500 meters away. Or maybe you want Wi-Fi in the warehouse at the back of your property.
Running 500 meters of Ethernet cable is expensive and a nightmare to maintain. In 2026, the solution is an Outdoor Wireless Bridge (also known as Point-to-Point Wi-Fi). Think of it as an “invisible Ethernet cable” that travels through the air.
Quick Comparison: Best Wireless Bridges for 2026
| Model | Max Range | Speed | Best For | Check Price |
| TP-Link Omada EAP211-Bridge | 1 KM | 867 Mbps | Plug-and-Play / Small Estates | View on Amazon |
| Ubiquiti NanoStation Loco5AC | 5 KM+ | 450 Mbps | Professional / Industrial | View on Amazon |
| ULNA Gigabit Wireless Bridge | 3 KM | 300 Mbps | Non-Techies (Pre-configured) | View on Amazon |
1. The Best for Beginners: TP-Link Omada EAP211-Bridge Kit
This is our top recommendation for residential properties in 2026. It comes as a pre-paired kit: you plug one into your Starlink router and the other at your remote building.
- ✅ Pros: Auto-pairing (no complicated software), sleek design, and includes everything you need in the box.
- ❌ Cons: Range is limited to about 1km with clear line-of-sight.
- [Check Price on Amazon]
2. The Professional Choice: Ubiquiti NanoStation Loco5AC
Ubiquiti is the king of long-range wireless. If you are a business owner or an integrator at AIS.gy, this is the gear we use for high-reliability projects.
- ✅ Pros: Massive range (up to 5km+), incredibly stable, and tiny form factor. It can handle high-resolution 4K video feeds without lagging.
- ❌ Cons: Does not include the PoE injectors in the box (you must buy them separately on Amazon).
- [Check Price on Amazon]
3. The Starlink Special: UNLA Wireless Bridge (Pre-Configured)

This kit is specifically marketed for Starlink users. It is designed to be “invisible” to your network, meaning it won’t cause IP conflicts with your Starlink router.
- ✅ Pros: Specifically designed for Starlink Gen 2 and Gen 3. IP65 waterproof for tropical rain.
- ❌ Cons: Slightly slower data speeds than the TP-Link or Ubiquiti, but more than enough for security cameras.
- [Check Price on Amazon]
🛠 How to Install a Wireless Bridge (The Right Way)
As systems integrators, we see people fail at this because of two simple mistakes. Follow these rules for a perfect signal:
- Line of Sight is King: The two antennas must “see” each other. If there is a thick mango tree or a concrete wall in between, your signal will drop by 80%.
- Height Matters: Mount them at least 10–15 feet high to avoid “ground noise” and obstacles like moving trucks.
- The Final Step: Once the signal reaches the remote building, you need a small Access Point or an old router to turn that signal back into Wi-Fi for your phone and cameras.
Integrator’s Pro Tip: Always use Shielded Cat6 Cable (STP) for outdoor antennas. In Guyana, lightning strikes and static build-up can fry your Starlink router if you use cheap indoor cables outside.